From syringe to first harvest
This guide takes a first-time grower through every stage, from a 10 ml liquid culture syringe to mushrooms in the pan. Start with an oyster. Oysters colonize fast, forgive small mistakes, and fruit on cheap straw.
Time
About 5 to 8 weeks from syringe to your first oyster harvest.
Skill
Beginner. Clean habits matter more than experience.
Space
A closet shelf while the culture grows and a kitchen corner for fruiting.
Cost
One syringe, plus grain and a bulk substrate such as straw.
What you need
- A liquid culture syringe. Ours ship with a sterile needle and an alcohol prep pad.
- Sterilized grain in quart jars with injection port lids, or an all-in-one grow bag with an injection port.
- 70% isopropyl alcohol and paper towels.
- Nitrile gloves and a face mask.
- A still air box, or a clean room with no drafts.
- Bulk substrate for your species, such as straw for oysters or supplemented hardwood sawdust for most specialty species.
- A fruiting tub or tent.
- A spray bottle.

Pick your species
| Species | Difficulty | Grows on | Fruits at |
|---|---|---|---|
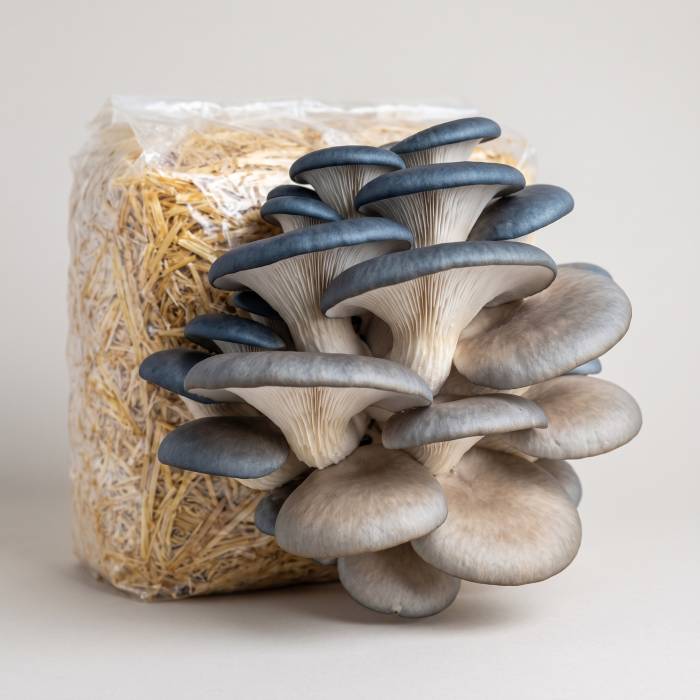
| Blue Oyster | Beginner | Straw, supplemented sawdust | 50 to 65 °F |
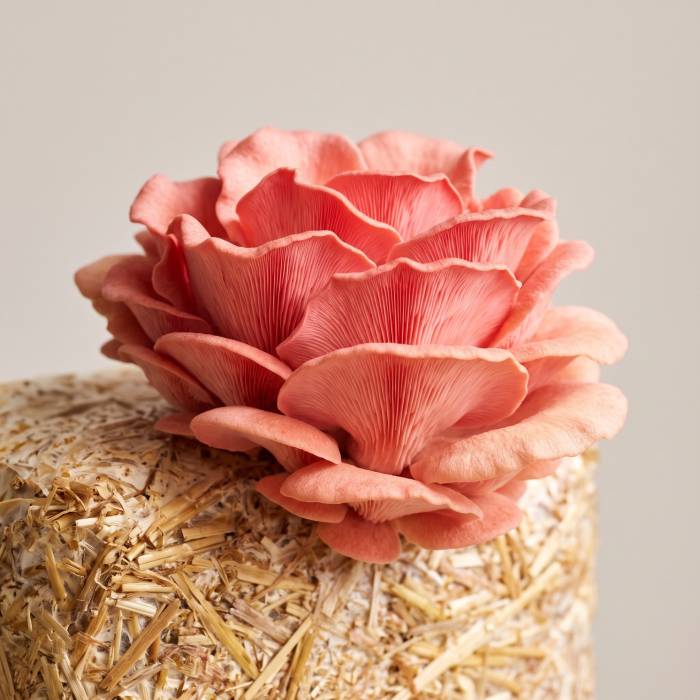
| Pink Oyster | Beginner | Straw, hardwood sawdust | 65 to 85 °F |
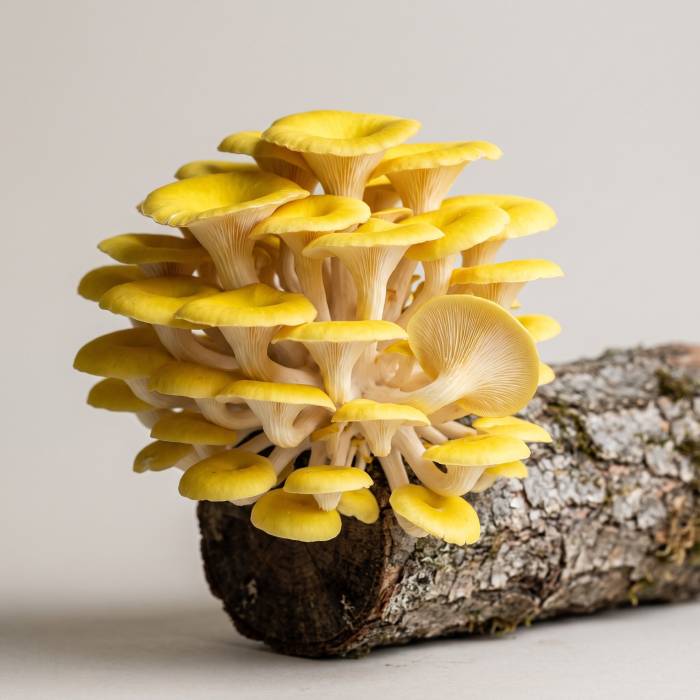
| Golden Oyster | Beginner | Straw, hardwood sawdust | 70 to 85 °F |
| Pearl Oyster | Beginner | Straw, supplemented sawdust, cardboard | 55 to 70 °F |
| Elm Oyster | Beginner | Supplemented sawdust, straw, outdoor beds | 55 to 70 °F |
| Lion’s Mane | Beginner | Hardwood sawdust with bran | 55 to 70 °F |
| Wine Cap | Beginner | Outdoor hardwood chip bed | 50 to 70 °F, spring and fall |
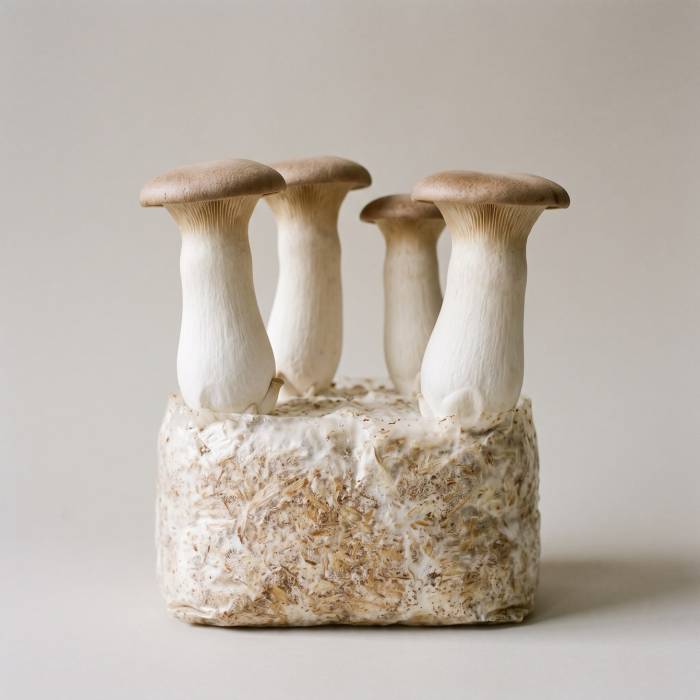
| King Oyster | Intermediate | Supplemented hardwood sawdust | 50 to 65 °F |
| Black Pearl Oyster | Intermediate | Supplemented sawdust, straw | 55 to 70 °F |
| Shiitake | Intermediate | Oak logs or sawdust with bran | 55 to 65 °F after a cold soak |
| Chestnut | Intermediate | Hardwood sawdust with bran | 55 to 70 °F |
| Pioppino | Intermediate | Hardwood sawdust with bran | 55 to 65 °F after a cool drop |
| Enoki | Intermediate | Hardwood sawdust with bran | 45 to 57 °F |
| Reishi | Intermediate | Oak sawdust with bran, logs | 70 to 80 °F |
| Maitake | Advanced | Oak sawdust with bran, logs | 55 to 65 °F after a drop |
| Nameko | Advanced | Hardwood sawdust with bran, logs | 45 to 60 °F after a cold drop |
Step 1
Prepare the syringe and your workspace
If the syringe has been in the fridge, let it warm to room temperature first. Then shake it for a few seconds to break up the mycelium. A clean culture is clear broth with white to cream wisps. If the broth stays cloudy or milky after it settles, do not use it, and contact us for a replacement.
Work in a still air box, which can be a clear storage tote on its side with two arm holes cut in the front, or in a clean room with fans off and windows shut. Wipe the box, your gloves, and every jar or bag with 70% isopropyl alcohol and let it dry. Twist the sterile needle onto the luer-lock tip and leave its cap on until you inject.
Never use an open flame inside a still air box. Alcohol vapor can catch fire.
Step 2
Inoculate the grain
Wipe each injection port with the alcohol prep pad. Push the needle through the port and inject 1 to 3 ml into each quart jar of sterilized rye, wheat, millet or oats, or 2.5 to 5 ml into each all-in-one grow bag. One syringe covers 3 to 10 jars.
Making your own grain jars? Soak the grain for 12 to 24 hours, simmer it for 10 to 20 minutes, and let the surface dry. Then pressure cook the jars at 15 PSI for 90 minutes and let them cool overnight, because hot grain kills the culture. Ready-made sterile grain bags skip this step. Our oyster post walks through it step by step.
To save the rest of the syringe, recap it and return it to the fridge. Before the next use, heat the needle red hot outside the still air box and let it cool.
Step 3
Let the mycelium colonize
Keep the jars or bags at room temperature, near 70 °F, out of direct sun. White threads spread out from each injection point, and oyster jars usually show growth within a week. Slower species, such as reishi and maitake, take longer. When a jar is about one third white, shake it to spread the growth. Jars are fully white in 7 days to 4 weeks, depending on the species.
Healthy mycelium is bright white to cream and smells earthy, like fresh mushrooms. Green, black or grey patches, wet and slimy grain, or a sour smell mean contamination. Keep that jar sealed, take it outside, and throw it away.
Step 4
Mix the spawn into bulk substrate
A fully white jar is grain spawn, ready to mix into a bigger, cheaper substrate. Oysters grow on pasteurized straw or hardwood pellets. To pasteurize straw, hold it in water between 140 and 160 °F for at least 2 hours, then drain it and let it cool below 100 °F.
Lion’s mane, shiitake, chestnut, pioppino, maitake, enoki and nameko grow best on hardwood sawdust supplemented with bran, sterilized in filter patch bags. Shiitake and reishi also grow on hardwood logs. Wine cap goes outdoors into a bed of fresh hardwood chips, and our wine cap bed post shows how.
Mix the spawn all the way through the substrate, at about 5 to 20 percent of its weight. Keep the bags dark and near 70 °F until they turn solid white.
Step 5
Trigger fruiting
When a block is solid white, cut an X in the bag or open the tub. Keep humidity at 85 to 95 percent by misting the walls of the tent, not the mushrooms. Fan the tent several times a day for fresh air, and give it indirect light, about enough to read by.
Hold the temperature in the species’ fruiting range from the table above. Shiitake, maitake, nameko and pioppino need a cold trigger first, a few days cooler than they colonized at. For shiitake, a cold water soak works too. Small pins appear first and double in size quickly, so check them every day.
Step 6
Harvest and cook
Pick oysters when the gills show but the cap edges still curl under. Once the caps flatten and turn up at the edges, they get tough. Pick lion’s mane while it is white and the spines are short, and wine cap while the caps are still rounded. Cut each cluster at its base with a clean knife.
Most blocks give a second, smaller flush. Rest the block for 1 to 3 weeks, then return it to fruiting conditions. When a golden oyster block is spent, bag it for the trash instead of composting it outdoors.
Cook your harvest the same day for the best texture and flavor, and always cook mushrooms before you eat them. Our cooking post covers each variety, and our lion’s mane post has three recipes.
Troubleshooting
Slow species such as reishi, maitake and nameko can take two weeks to show growth. Check that the jars sit near 70 °F, that the grain had cooled fully before you injected it, and that you shook the syringe first. If a culture shows no growth within 14 days in properly sterilized grain, contact us for a free replacement under our replacement policy.
That is mold, most often green Trichoderma. Keep the jar or bag sealed, take it outside, and throw it away. Next time, wipe everything with alcohol, work in still air, and pressure cook grain for the full 90 minutes at 15 PSI.
A sour smell or wet, slimy grain means bacteria, usually because the grain went into the jars too wet. Throw the jar out. Next time, let the grain surface dry for 1 to 2 hours before you fill the jars. A squeezed kernel should crush without turning to mush.
The mushrooms are stretching for fresh air or light. Fan the tent more often, open a vent, and give the block more indirect light. Oysters react most to stale air.
The air is too dry. Raise humidity to 85 to 95 percent by misting the tent walls more often, and keep fans from blowing straight onto the mushrooms.
Young pins dry out and stop when humidity or temperature swings. Keep conditions steady, mist the walls rather than the pins, and keep direct airflow off them. A healthy block often pins again within a few days.
Keep your culture healthy
Store it cold
Keep syringes in the fridge at 36 to 46 °F, in the dark. Pink oyster is the exception and stays at room temperature.
Use it fresh
Use refrigerated cultures within 3 months of delivery, and pink oyster within 1 month.
Warm and shake
Let the syringe reach room temperature and shake it before every use. Never freeze it.